Soul Of Kinabalu
- grey1217

- Mar 24, 2016
- 4 min read
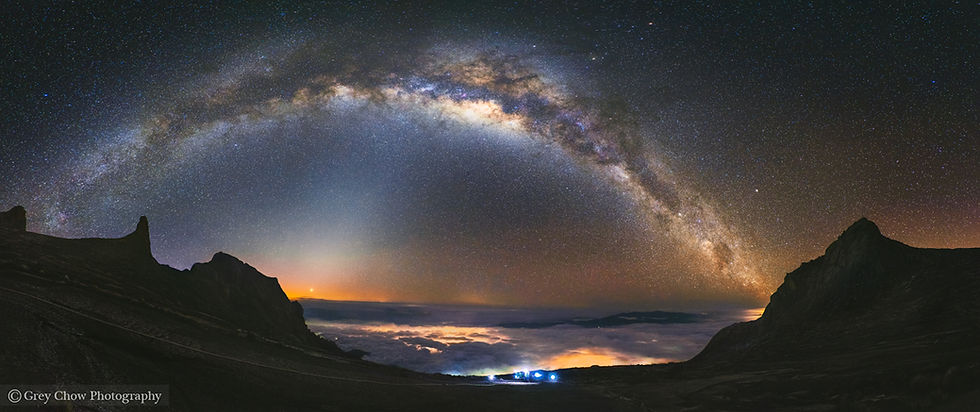
About a week ago, I got the news from my friend FwuKai Quah that he got another two slots for hiking up to Mount Kinabalu. Visiting there is one of the must-do items I have in my bucket list from years ago, but…this is just too sudden trip even for me. After some consideration, I decide to grab this opportunity and go for it. So here I am, after around 6 hours of the first-day hike and another 2 hours to reach the peak, along with all my heavy camera gears and a bonus experience of altitude sickness, I have to say, this is far more challenging than what I thought of in first place, lol. During the last 2 KM hike, I almost thought of giving up the Milky Way shot and just settle with only the Sunrise, so that I can have at least another 1 more hour buffer and slow down the pace. I am glad I didn’t do so. 🙂
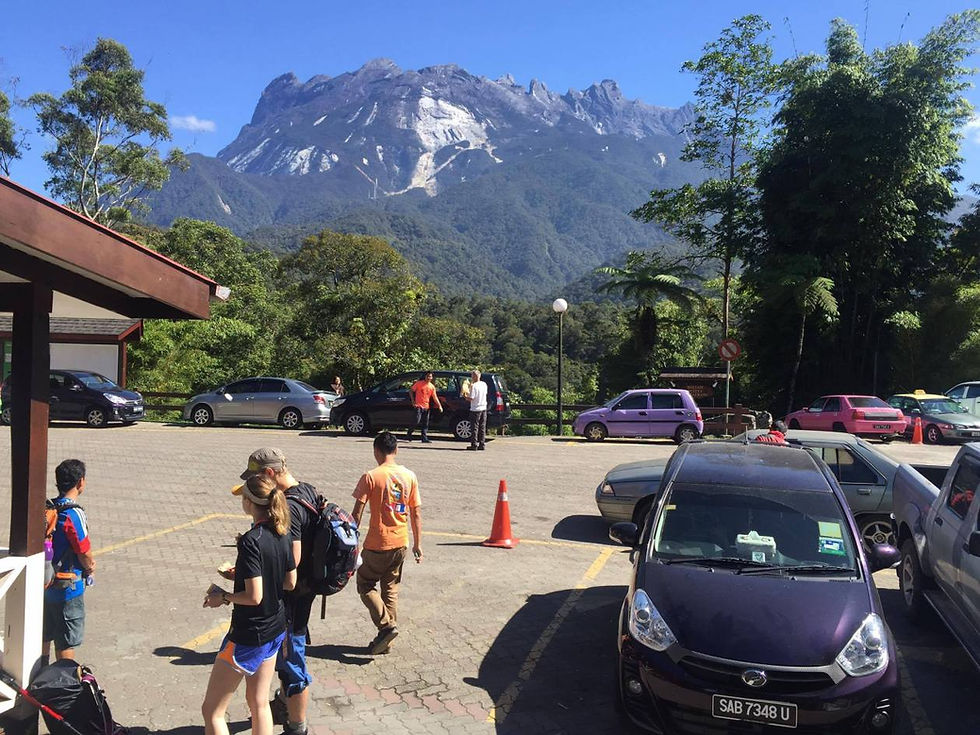
From Kota Kinabalu, we arriving here first to get the pass and meet our guide.
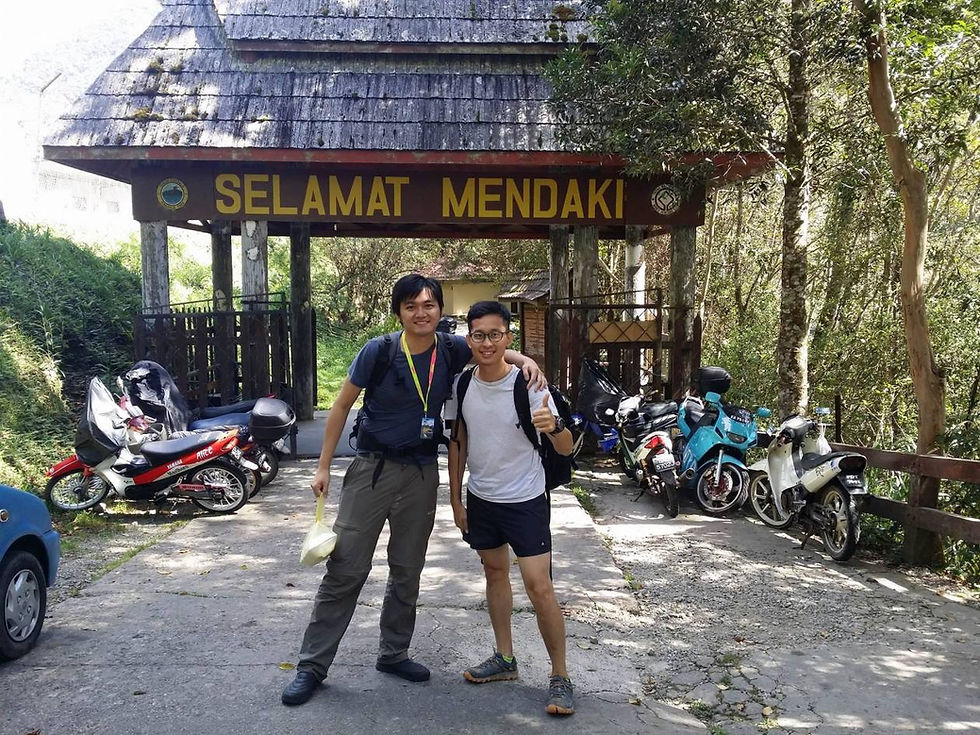
This is where the Timpohan Trail start, me & Fwukai & that’s my lunch box in my hand ^^

On the trail.
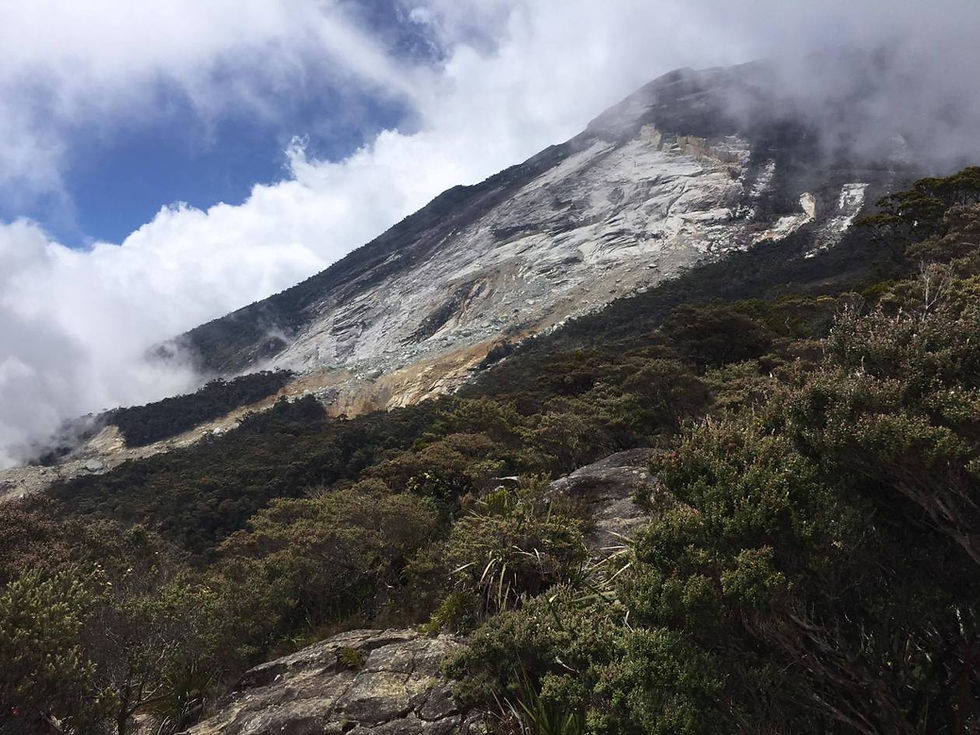
The collapsed area (the white part) due to last year earthquake disaster. :'(
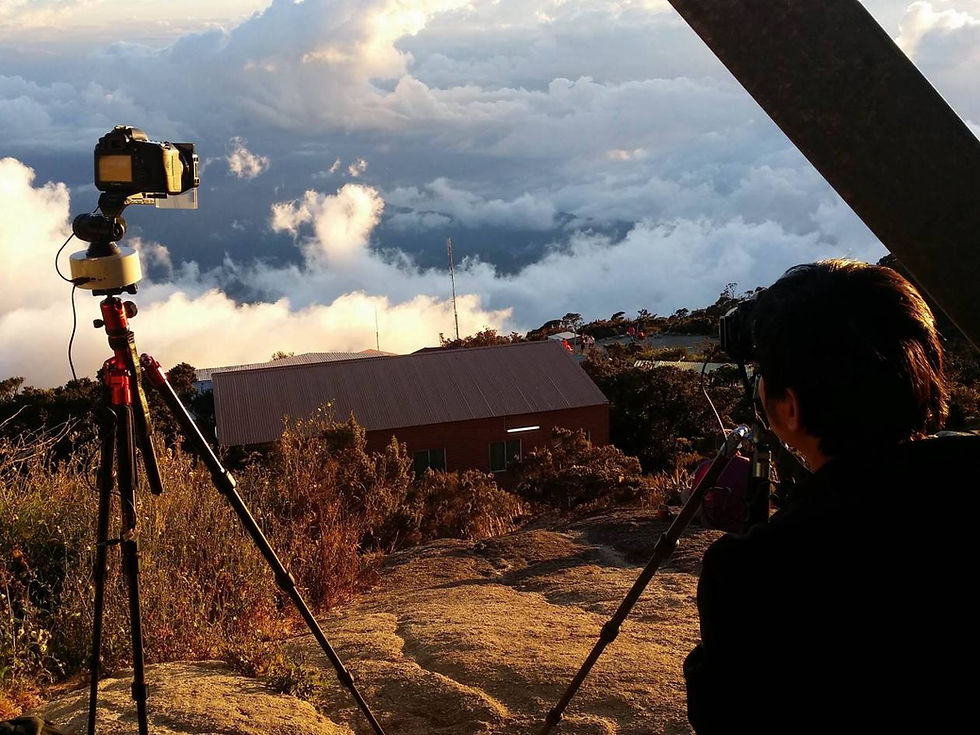
And this is the hut I stay at laban rata, what a breath taking view!
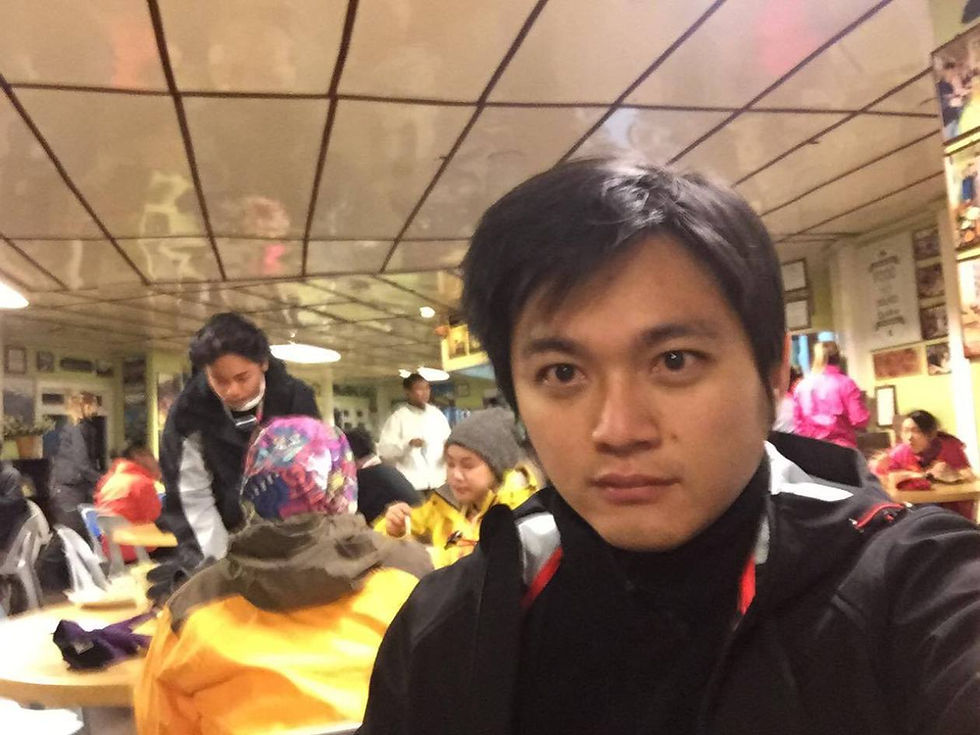
Around 2 a.m. we having our supper here before starts the hike to the peak at 2:30 a.m. My eyes are red and look tiring 😛
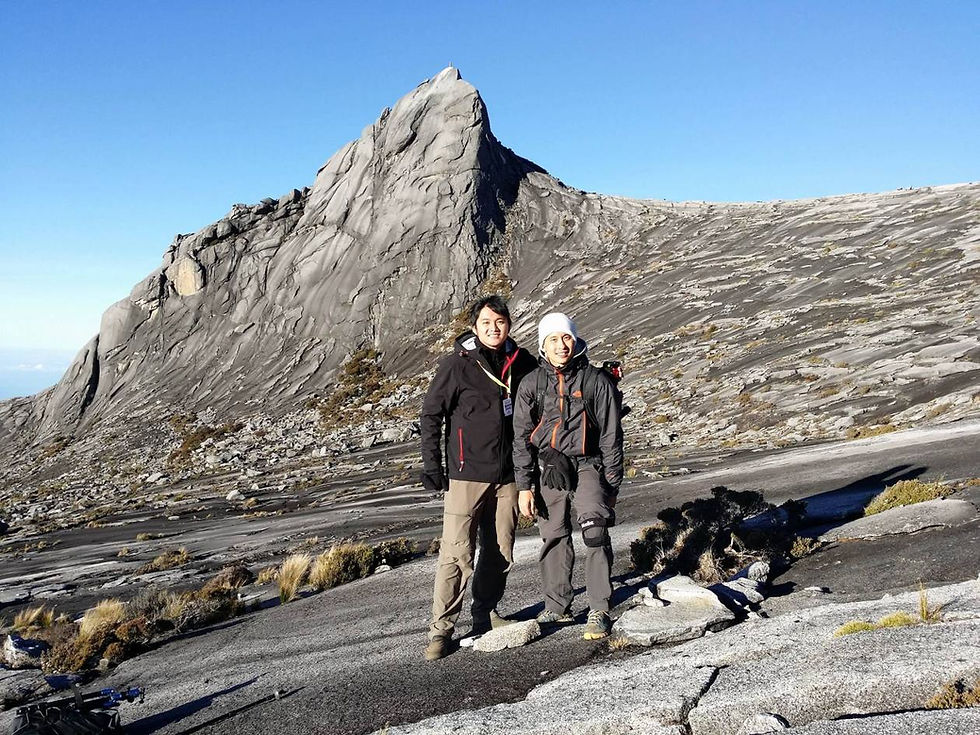
Souvenir photo!
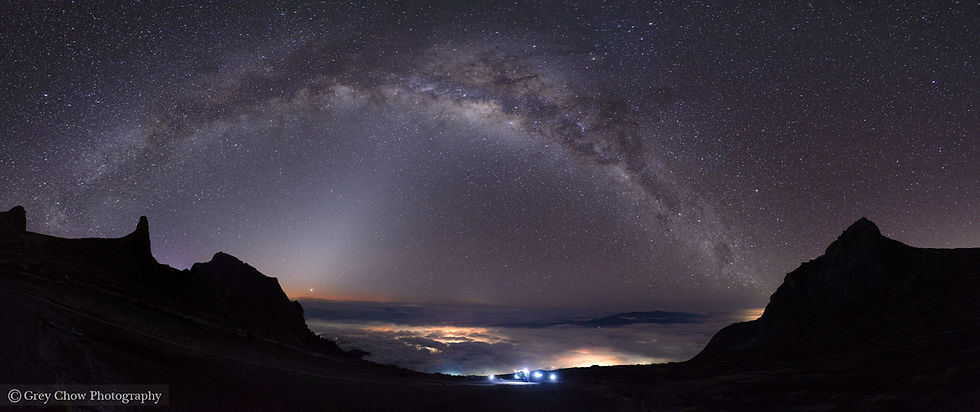
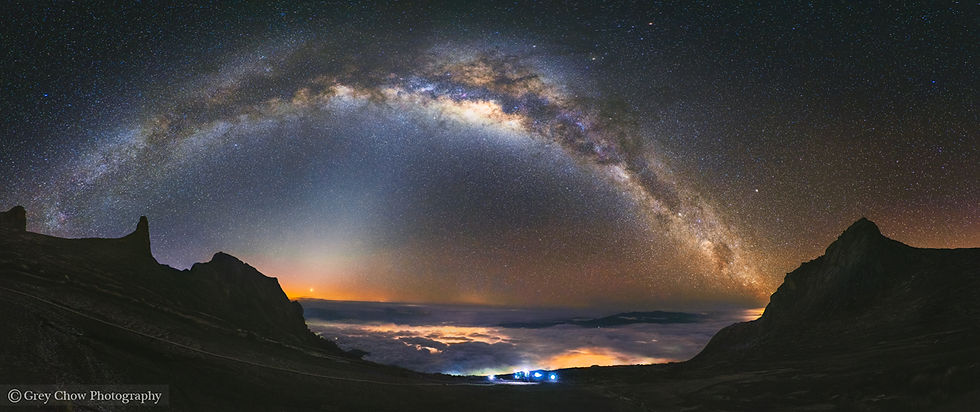
I reach the south peak at around 4:30 a.m. The sky was so clear that I can see the Milky Way with my naked eyes, I would say the most obvious milky way I ever saw before. I quickly set up my gears, with only roughly 1-hour time frame left for me to capture the milky way before the blue hour fall upon the sky and wash out the stars. After taking several single frames shots and satisfied with the result, I decide to make some panorama shots. It appears to be much more challenging due to limited time I have and sometimes the disturbance of the flashlights’ flare caused by other hikers.
The whipping gusts of wind also might cause the camera shake too (This will be resolved if I’m bringing a sturdier tripod, but then it mean more weight along the hike too). In the end, I took 2 sets of panorama that combine of 8 photos from left to right, with some of it have to retake several times due to above disturbance that mentioned.
Here the 8 photos that I picked in the end for the panorama merge.

Shooting Info:
16 mm focal length,
Capturing 8 photos from left to right at ISO-6400, f2.8 aperture 15 seconds shutter speed.

And this is one of the failure shoots I got during the process, which I have to retake again.
I loaded all the photos into Lightroom, performing lens correction and then exported in .TIF format. Next, I open the photoshop, go to File > Automate > Photomerge, I select all the 8 photos, leave the setting at default and let Photoshop do the merging. The result almost 90% perfectly join together, there is some minor part that misaligned but fixed with the stamp tool. Another thing that I need to correct after merged is the perspective of the photo, there is some distortion and the horizontal line is slightly off. I corrected back using Lens Correction filter, adjust the distortion & vertical slider and slightly rotate the photo.
Normally when processing the milky way photo, I like to do some basic adjustment first in the Lightroom before I move in photoshop. However because I use the Photoshop to merge the panorama photo, so now I have to export the photo back into Lightroom first. I tune the white balance to bring out the colors of the milky way, giving an extra boost to it by adjusting the contrast, highlight, shadow, white and blacks. I also using the selective adjustment to slightly recover the highlight area.
And now I bring the photo back to photoshop for further enhancement. Mainly what I perform is to brighten the Milky Way more, darken the sky, soften the stars around the edge, adding more contrast on the lights glow at the left mountain and saturate the milky way and the sky. I have also adjusted the color balance for the sea clouds, making it more toward the white, perform minor recovery on the flashlights. For the foreground, I perform some dodge and burn to adding more depth, slightly brighten it (not too much as I don’t want the attention on the milky way get distracted), enhance the colors on the rocks after fix the white balance and adding a bit of sharpness on the foreground. Lastly, I do a noise reduction on the sky before I export the photo.
Here is the before & after comparison (after merge):
Please feel free to share this post if you enjoy reading it! :)
.png)


Comments